Overview
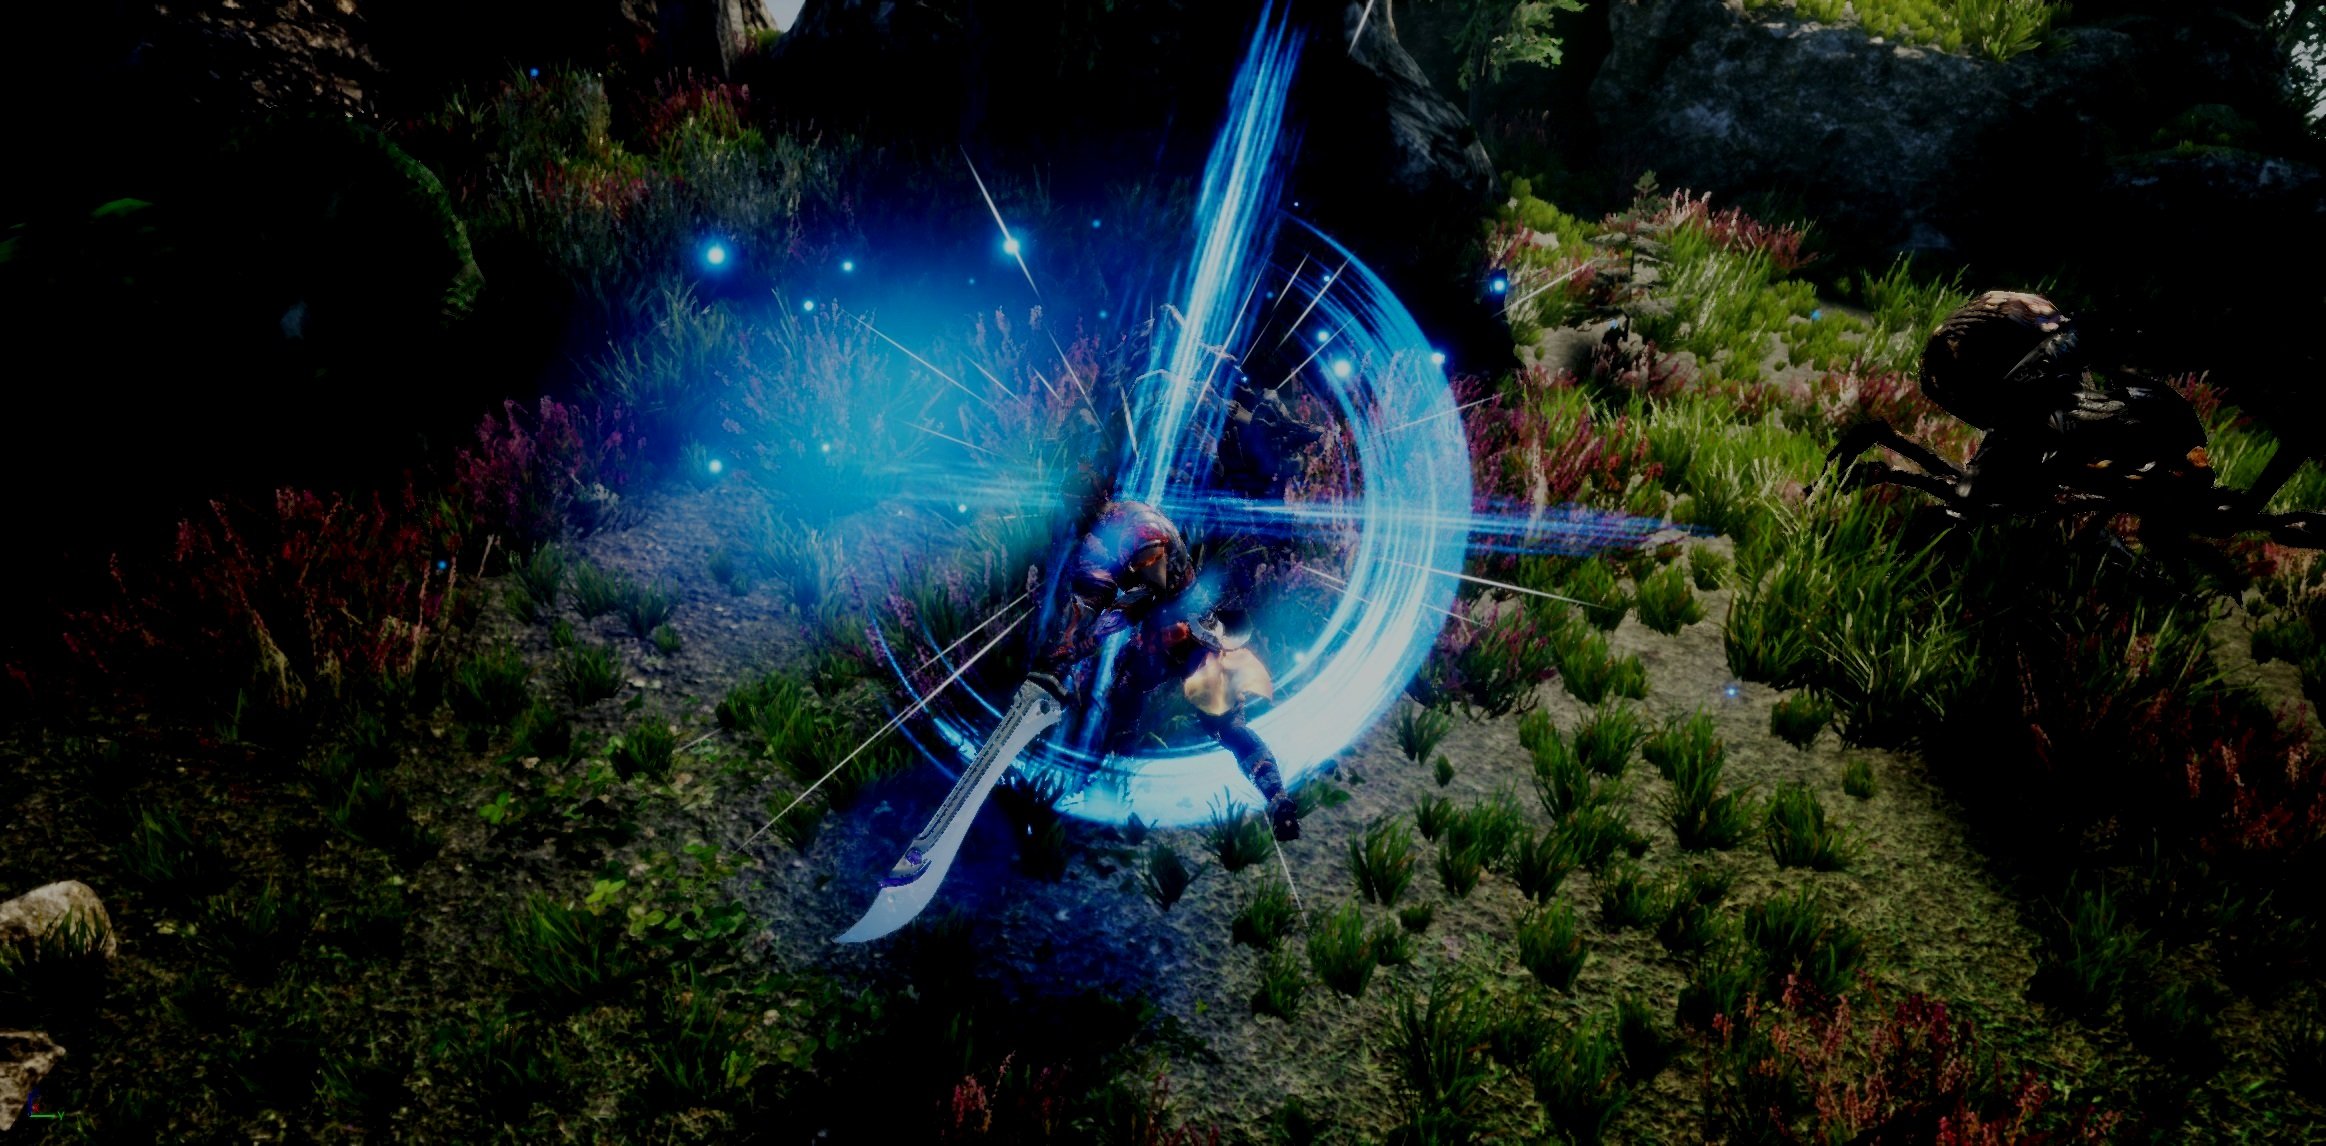
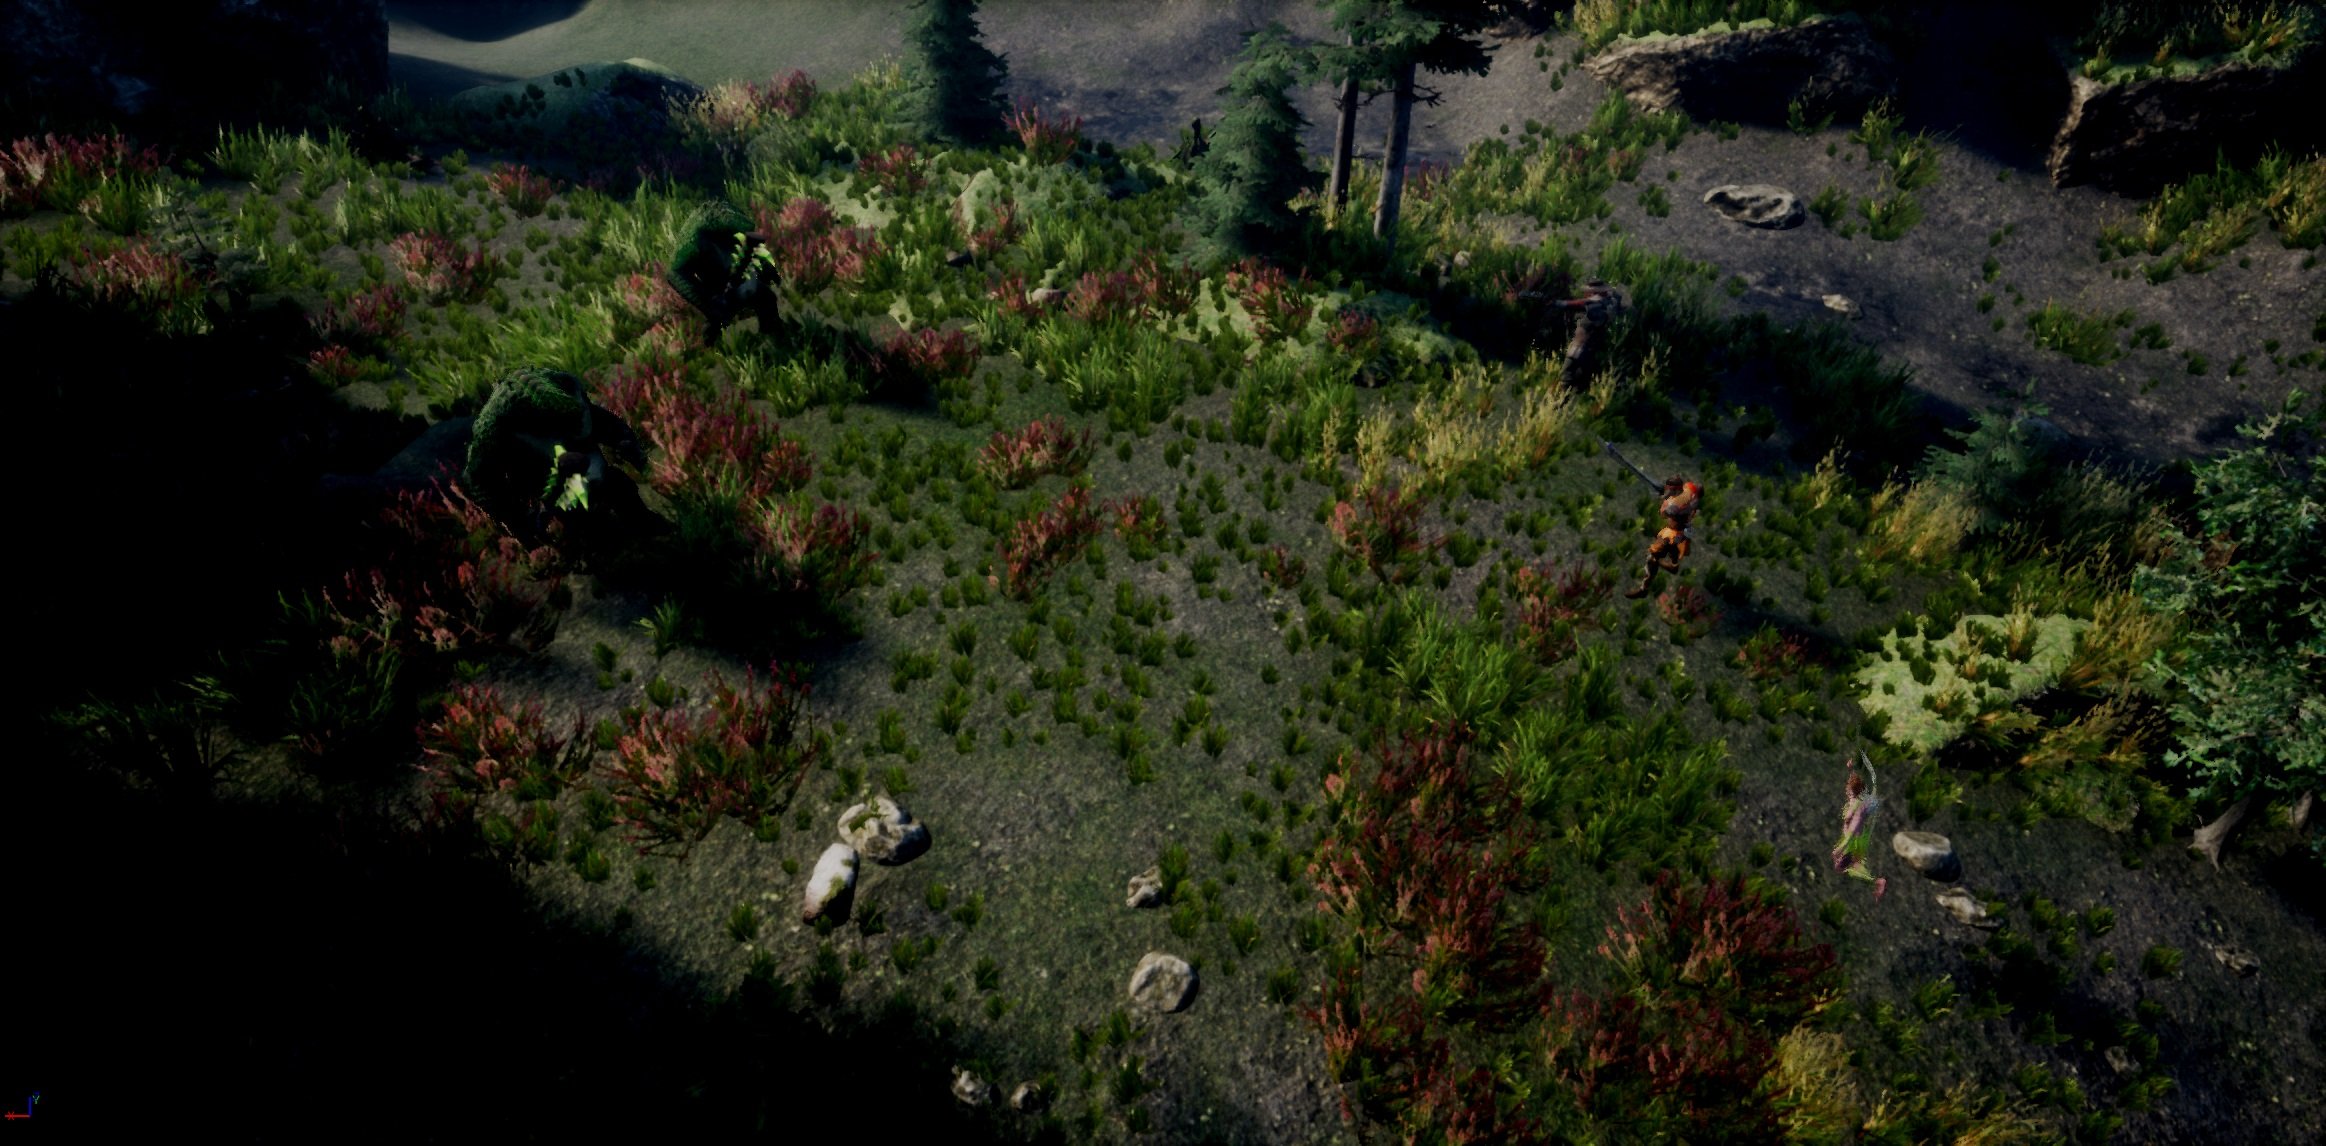
Rite of Adventure is a turn-based combat gmaeplay system I developed in Unreal Engine 4. It was heavily inspired by classic Japanese Role-Playing games like classic Final Fantasy titles and completely new territory for me to delve into. It was a lot of work and challenging, but I had a lot of fun with it! I may decide to keep iterating on it in the future, this gave me a whole new degree of respect for the developers of this genre and just how much goes into the parts that get taken for granted.
The name itself is taken from a combination of cards from the “Adventure” archetype in Yu-Gi-Oh!, which are centered around party members in a JRPG or tabletop game emarking on an adventure together, which I thought seemed appropriate.
The main highlights of developing this project are:
Designing a UI that covered all the players actions and resources for the party members that flowed together.
Blueprinting and implementing systems for standard and magic attacks as well as character-unique abilities.
Blueprinting player and enemy AI.
Writing and implementing experience and stat-based structures for balancing characters and enemies respective traits.
Blueprinting overworld exploration to transitioning to combat with random encounters.
Here’s a gameplay video showcasing the full system!
A lot went into designing the combat system so I’ll break down the elements piece by piece below!

Gameplay Systems Breakdown
Overworld To Battle Transition
In turn-based RPG’s like Final Fantasy VII or Pokemon, the gameplay consists of two maps, an onverworld and a map for the combat to take place in. When combat is initiated, there’s some sort of flashy screen transtition that’s supposed to transition into loading the battle map.
For mine, when the player loads into the overworld, there’s a set of triggers around them that they have to walk through no matter what direction they decide to walk in. These triggers have a timer that counts how long the player has been traveling in the overworld. After a while it runs a check with a random chance to see if there’s an enemy encounter. If it returns false, it resets the counter with an increased chance of an encounter on the next check. If it returns true, runs the enter battle script.
The enter battle script gets the players location and saves it so they end up where they left off after the battle. It then generates the screen shatter transition effect over the player screen.
It was rather tricky to get it to try and be a seamless transition from overworld to combat. What I ended up doing was having the screen shatter effect be a component on the overworld character and having it trigger with the enter battle script. Then giving it a delay to play the majority of the full animation and then casting to an empty UI widget that had a blueprint that loaded in the battle map.
Battle Map
The battle map is an ares consists of three main components: An overivew camera that can see the full battlefield, cameras that focus on each player and enemy character when it’s their turn in combat, and actors that spawn in the combatants.
The unit spawns are children of the general unit base blueprint that handles whether the unit in battle is an enemy or an ally and can be toggled to be either or individually. They also handle the class of the unit so you can set the position of your party members.
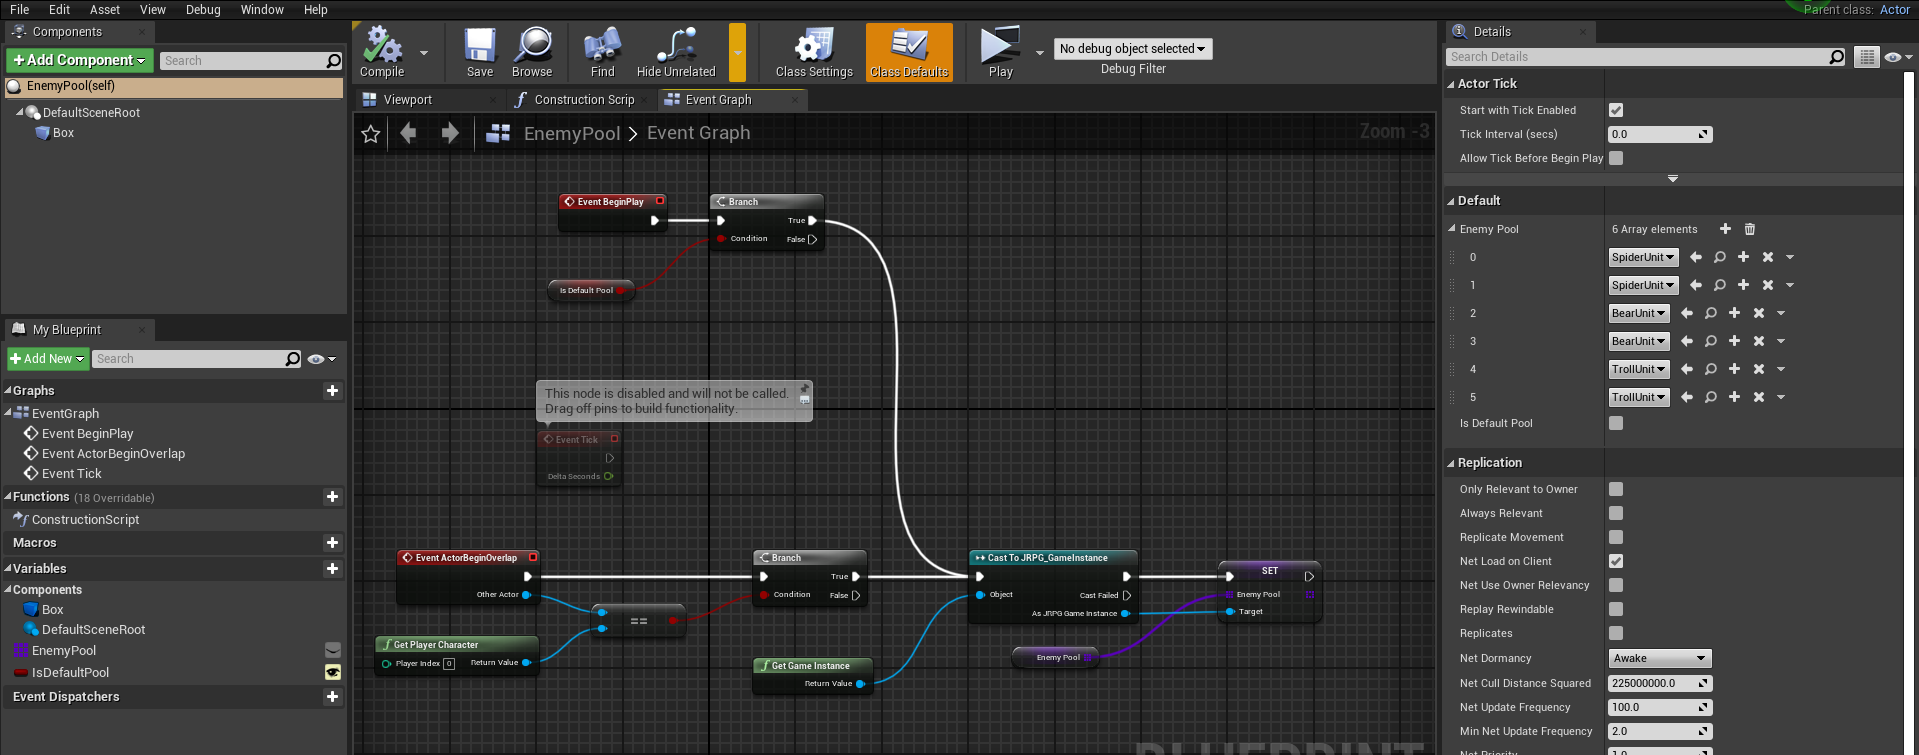
For the enemy units, I just have them set as the base enemy unit blueprint. That base blueprint has a set pool of enemy units it can choose to spawn in, with the more slots dedicated to one particular enemy type, the more likely that one is to be included in the battle. It also has the possibility to not load in an enemy at all, adding for more variance in the types of enemy encounters and against how many enemies.
Action Commands Menu
I mentioned above that all the units are children of the base unit blueprint. This is so I can have a component attached to all of the units that handles all of the mechanics, stats and unit types, damage and experience. They can be freely adjusted in each childs component details instead of scripting them all individually. The battle component also has a begin battle script that checks each units action timer to determine which unit is next in line to have their turn.
To start with the action commands menu, when a command and target for that command is chosen, it sets the position from the dynamic camera to be from orbiting the active unit to be directly following them. Each command then runs a check to see if it fulfills a certain condition, and then depending on if that condition is true or not, carries out a separate event for if an attack is close or long range, the type of magic that’s being cast, if it’s being used on an enemy or ally etc.
For having the blueprints connect to the user interface, I created a general unit menu widget, and then made other widgets that held individual pieces and windows and then added them all to the overall widget. I gave the different selections the blueprints that when selected would show the next menu, and then in the general widget made animations for the windows to be overlayed on top of each other for the transitions, and then in reverse for if the player decided to go back.
The blueprints for the menu bind the events chosen for selecting each ability to an ability chosen event which brings up the show targets window and populates it with the list of available targets depending on if it’s an ability that affect either an enemy or ally, as well as gives a description of what it does for the player. They’re also each binded to an event that reverses the animation and populates the previous menu with their original information and makes it interactable for the player again.
Standard Attacks
The standard attack command is split into melee and long ranged attacks, and the attack command checks on which type of unit it is from its battle component settings to decide which script to run.
In the case of the melee attack, the player AI moves to the postion of the enemy target AI and plays an attack animation montage that contains notifies for dealing damage and attack effects. After the montage finishes the unit moves back to its starting position, and set its focus back on the battlefield before calling the turn ended blueprint which re-runs the begin battle blueprint and calls the next units turn in the action timer.
The ranged attack carries the same basic principle, but with a few changes. The unit moves into a ranged position a set diestance away from the enemy before it plays its attack montage and spawns a projectile. I also had to bind an end of attack event to it at the end to get them to move back and set the character back to their initial position and put a delay before ending the turn so that the timing of all the everything worked out without any issues.
Magic
For magic I created a base magic blueprint that had empty particles to be able to add spell effects in child blueprints, as well as array variables that could take multiple values for mana cost, spell power and spell rank so that they could be used together in the unit base blueprint to calculate how much mana to spend and cast their desired effect. I also added variables for their names, rank and effect descriptions.
Magic was also split into two types: black magic, which has offensive spells, and white magic for healing spells. From the base magic blueprint I created those two parent classes and then created children from those for elemental type damage and healing spells of different ranks and filled in their appropriate information and added particle effects for each. I could then choose whichmagic I wanted to equip to each character in the magic section of their battle components.
The blueprints for casting the magic itself was carried out on the unit battle components. For black magic I gave the custom event an input that references the black magic class actor so that it knew to spawn a black magic actor. When spawned, the black magic actors would then cast back to the units battle component and execute the script for calculating and applying damage.
For white magic it was somewhat the same, but in reverse. I gave the events references to the white magic so that it had that list of spells to choose from. I used the same logic for creating the base white magic blueprint and children for healing spells, but since the objective was to give health not take it away, I substituted negative numbers in the calculations for the damage script so health would increase instead. I also used the same AI logic for moving the units and playing animation montages as the standard attacks, but added in some extra delays to allow the magic effects to play and be focused on before they moved back into their initial positions.
Items
While it wasn’t showcased in the video, I also create consumable items to be used by party characters. I wanted these to be in a finite amount and to the number left to be carried over into the overworld in between battles.
To do this I created an enumeration table that could hold what the different types of items were, as well as a desciption of what they did. I then created a structure where I could have text variables for the item names and descriptions, as well as a variable for the enumeration to register the item type.
From there I created an array variable in the player controller for the battle mode that I could add items and their quantity to. I then created a base item blueprint that casted to the player controller to get the inventory and subtract one from the initial count when it was used and children for items like potions for restoring HP and ethers for resoting MP.
In the battle component the logic was the essentially the same as when the player would cast magic, with the exception of differentiating using an item on an enemy or an ally, in which case setting the focal point for if the camera should be looking at a party or enemy unit.
Battle Component & Units Setup
As I’ve mentioned above Battle Component blueprint that I attached to the base unit blueprint, which by extension means it's part of of each party member and enemy character. This component handles all the logic for the unit commands, cycling through turns, damage calculation and level up experience. It also lets me set up build each unit the way I want them to be.
To start, I made a standard table categorizing each of the units stats and gave them a base amount per each level, going up as the characters levelled up. I then made structure table that took in variables for those stats, as well as variables for the units levels and experience amounts. Then on the begin play of the component I made it get the stats table so it could reference the numbers and promoted it to its own variable.
This means I could make the characters any of the level from the data table and their stats would equal the ones that level said. From there I could go into each respective stat and tweak them to how I wanted, for example having a character who has high magic and speed, but lower HP and physical defence. The base unit blueprint would then get a reference from the stat table variable on the component so that it could get the numbers of the units’ HP and MP amounts so that they would have those stats when the game starts.
I was also able to give each character their own animation montage for their commands or taking damage so that the component could just call on them when needed in each blueprint. I can make it a melee or ranged attacker for the standard attack script, give it a projectile blueprint, load up their magic abilities and adjust their expereince worth and how much they need to level up.
Damage Calculations & Experience Level Up
Damage is split into functions for calculating standard attack damage and magic attack damage, as well as their resistance. The base attack stat from the stat table is multiplied with attack variable from the stat modifier to get one singular number, then multiplied by a standalone number to get a damage number. That damage number is set to be randomly a little different or equal within a range so that the amount of damage fluctuates just a little bit.
Calculating magic damage is essentially the same, except before the math part it gets if it’s black or white magic from the magic base, as well as the rank of the spell and the corrosponding power amount before it gets multiplied against the users magic stat.
For calculating how much a unit can resist damage, it gets their stamina values and multiplies them to get one number and divides it against the base damage they’re taking.
When the unit base calculates the damage, it then checks what their current HP value is. If it’s still greater than zero, it plays their taken damage animation montage. If it does hit zero, it plays their death animation and casta to the battle game mode so it can remove that unit from the battle and the turn selection so it doesn’t still read a dead character as participating.
If it gets to where the enemy unit count is zero, the game mode then declares the battle over and initiates the victory fanfare screen and brings up the rewards menu. The menu then calls an award EXP function and givs the party units the experience that each enemy unit has in its battle component value. If the experience goes over the amount needed to level up it advances that units level by one.


